Time spent actively working on the beer, and time spent sitting in the fermenter or beer bottles, are the two main components of the total time it takes to make beer at home. There aren't many "active hours" spent brewing beer, but it might take many weeks or months to attain optimal drinking quality.
I usually spend six hours total on a batch of beer made from whole grains, and that includes the time it takes to clean up afterwards. The bulk of that time is spent, however, just waiting for the water to heat, the mash to convert, and the wort to boil. (I can multitask by doing various chores around the house) It takes about 8-10 hours of actual work time, usually spread out over two or three days, to brew a batch of beer (with an additional hour or so spent moving to secondary and another hour spent bottling). Brewing time can be cut by as much as an hour when malt extract or a partial mash are used. Discover the ins and outs of different brewing methods right here.
Most of the time throughout the brewing process, a homebrewer's hands are doing nothing. During fermentation and conditioning, yeast converts sugar into alcohol and creates flavour. Where to Buy a Brewing Kit with Confidence
The fermentation process and beer condition are very context-dependent. The time it takes to brew a low-gravity ale can be reduced to as short as two to three weeks if you use a force carbonating technique. However, the quality of homebrew often increases over time, and some beer styles require more time to ferment and condition.
Brewing and Consumption
Time from raw ingredients to finished, drinking beer depends on a number of factors. Between four and eight weeks is expected. It's likely that you'll have to wait a minimum of four weeks. The components can be prepared in only a few hours, but the beer must ferment in the beer brewing kit for at least two weeks, followed by another two weeks of bottle conditioning. The fermentation time of your beer will vary depending on a variety of things, such as the temperature and the purity of the yeast you're using. Brewing is both an art and a science, so even while utilising a beer brewing kit and pre-packaged components should remove the need to worry about contamination, it is still important to do so with an open mind. As a home brewer, you need to practise patience because the beer won't be drinkable until the fermentation process is complete. When you've finished bottling your first batch of homebrew and started on the second, you'll never run out of tasty beer to drink. Having this to look forwards to while waiting for the next batch will be a welcome distraction.
Purge All The Germs From Your Gear, First
Even if you have a complete kit with everything you need to make your first batch of beer, there is one crucial step you must do before you begin. You must first clean and disinfect all of your brewing equipment before proceeding. Even if it's brand new, you don't want your first batch of beer to be spoiled by infection, so be careful.
Processes Involved in Making Beer
After spending an hour or two preparing the materials for brewing, you'll transfer them to the fermentation vessel for a period of intense activity lasting a few days, followed by a more sedate period lasting ten days or so. Consider an additional two weeks for the fermenting process. Adding priming sugar and bottling your beer once the first fermentation is complete (or if you want to save a little time and trouble, carbonation tablets). Bottle conditioning requires a minimum of two weeks, and up to a month, of storage in a dark, room-temperature location after the bottles have been sealed. Waiting too short of a period during this process will result in flat beer, as the leftover yeast in your brew will convert the sugars from your priming sugar into carbon dioxide.
Ales and Lagers
While certain beer styles benefit from a longer bottle conditioning time, others may benefit more from a shorter one. In most cases, you won't need to wait more than two weeks after transferring your brew from the fermenting bucket to the bottles before you can enjoy your homemade ale. Four to six weeks of bottle conditioning is ideal for lagers. It's OK to drink them after two weeks if you really can't wait, but many beers improve with more conditioning. Even though there is a significant amount of waiting involved in home brewing, the end result is well worth the effort. Once you've sampled the fruits of your labour, you'll want to go right to work on the next batch to ensure you're never caught short of a supply of fresh, home-brewed beer.
Brewing
Brewing beer can take anything from a few hours to many days, depending on the recipe and the setup. There is a distinct action to do at each brewing step, followed by a break during which one waits with bated breath to see what comes next.
Infusion of Grains
Some home brewers jump straight to the boiling stage, skipping the mash and boil. Keep in mind that soaking the grain will impart a more robust fragrance to the brew. Adding this step will increase overall brewing time by around a quarter of an hour and some change.
It takes around 40 minutes to bring water to a boil, after which you may begin soaking grain. Then, once the malt has been dissolved in liquid, you'll wait around 45 hours for the enzymes in the grains to become active. When you're ready, the next step is to boil them.
The Nature Of Grains Boiled
Boiling grains has been a staple cooking method for ages. The process begins with the addition of grain to water that has been brought to a boil in a saucepan or similar vessel. The grain will soften and take on the flavour of the water as it cooks. Whether you're making rice, oats, or barley, boiling is a fast and simple way to prepare the grain. Boiling grain is another excellent method of enhancing its flavour. Boiling the grain in water with spices or other components allows for a wide variety of flavour combinations. Boiling grains may be used to make all sorts of nutritious and tasty dishes.
Refreshing Cold Drinks
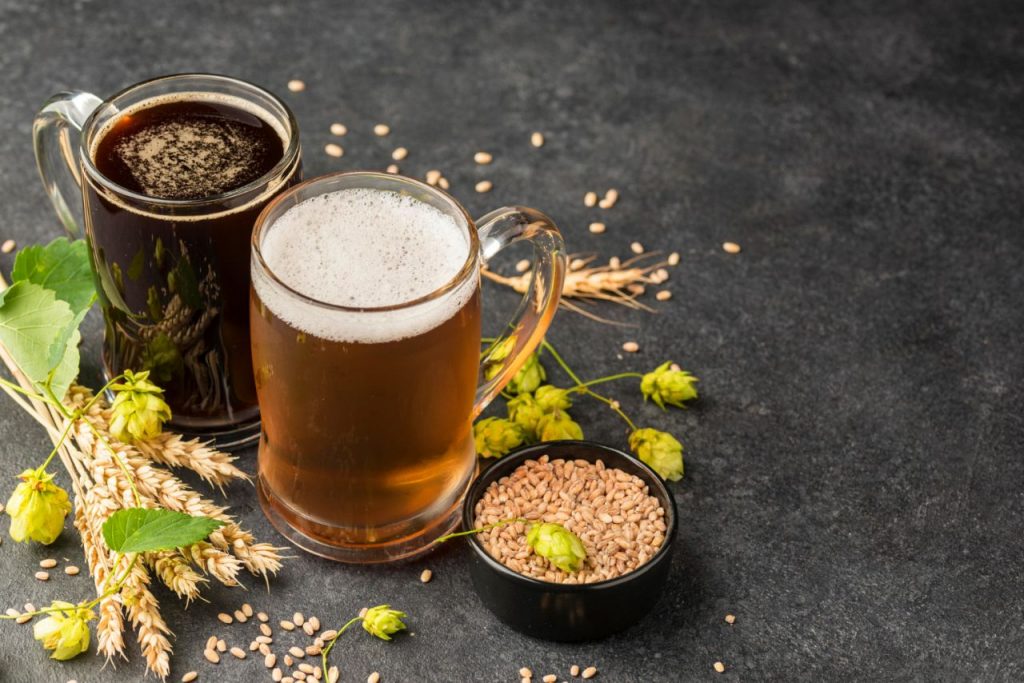
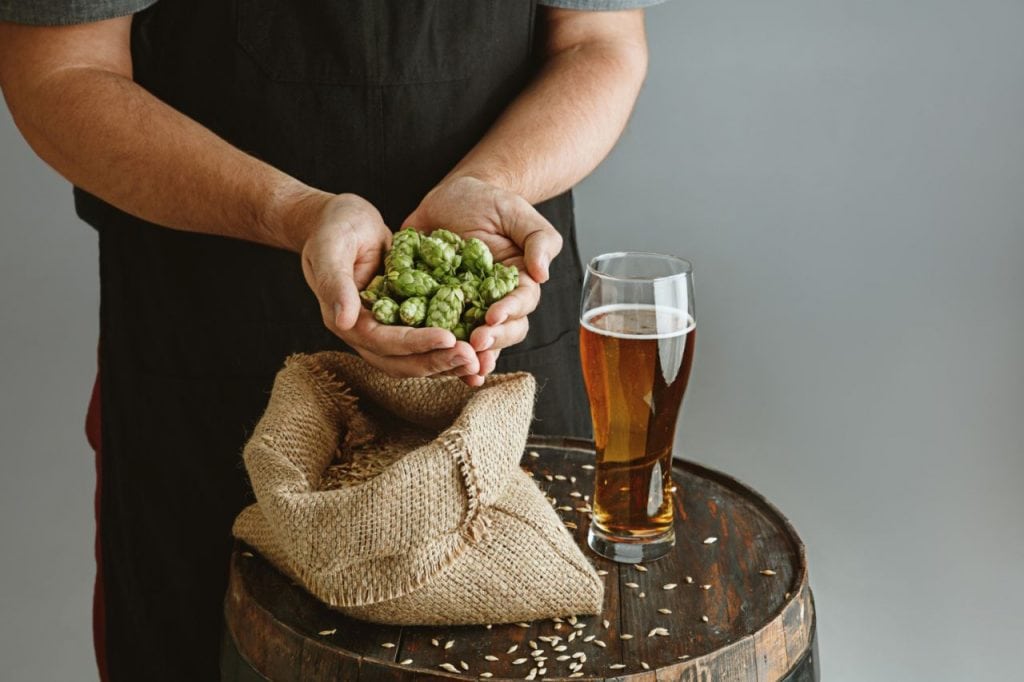
The great majority of people like drinking beer, but few stop to consider where it comes from. Brewing beer is an age-old craft that has been practised for millennia and still is now. Creating alcohol requires little more than mixing water, grain, yeast, and hops into a liquid and letting it ferment.
Many variations are possible from this base recipe, and each brewer has their own unique take on the brewing process. Because of this, there is a huge variety of beers available to drinkers. Beer comes in a wide variety of styles, so you can choose one that suits your tastes whether you like your brews light and crisp or dark and hearty. So, the next time you go for a six pack of your go-to beer and crack open the top, think of the hard work that went into making that beverage.
Yeast is added to the mix.
Baking is often what comes to mind when you mention yeast. Yet, yeast is also a key ingredient in making beer. Yeast is used to ferment wort, a mixture of sugar and yeast, into alcohol and carbon dioxide. The flavour of the finished product might be affected by the type of yeast that was used. The flavour produced by ale yeasts is fruitier, whereas the flavour produced by lager yeasts is cleaner. The wort must be well aerated before the yeast is added. There are two methods for accomplishing this: shaking the container or utilising an air pump. Aerating the wort will keep the yeast alive since they require oxygen to thrive. To activate yeast, all you have to do is add it to the wort once it has been aerated. Then, once a few days have passed, cover the jar and let the yeast do its magic within. The beer should be ready to drink after a few days.
The Full Brewing and Drinking Experience
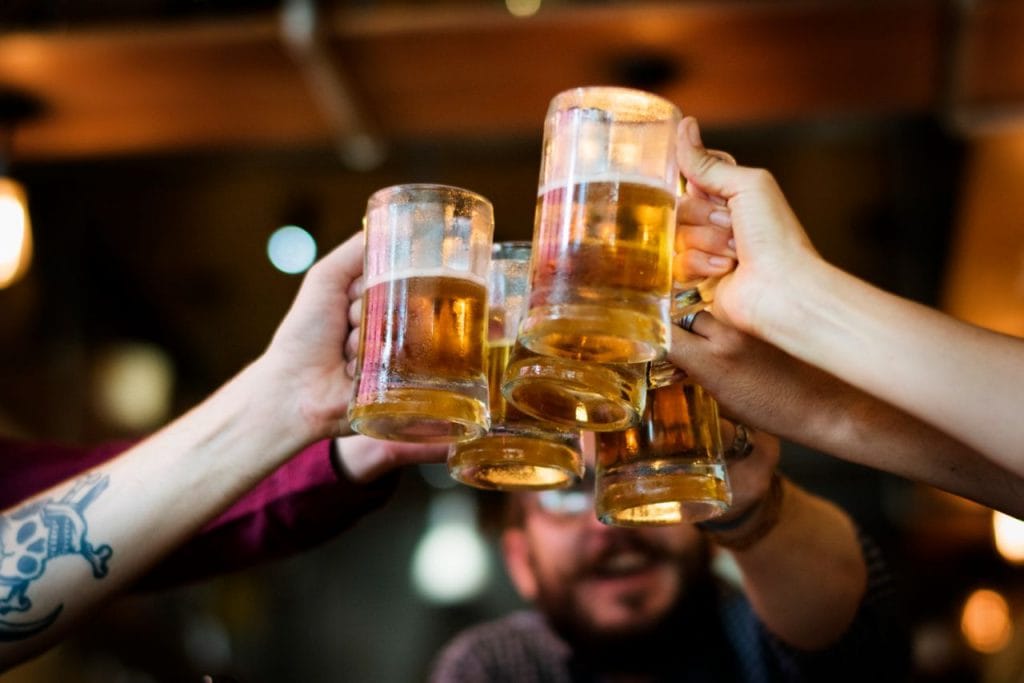
Indulging in the time-honored tradition of homebrewing beer has been a popular pastime for generations. Beer is made by mixing many elements, such as water, malt, hops, and yeast. The final product is made by combining these components and fermenting them. There are several techniques for brewing beer, each of which contributes distinctively to the end product in terms of aroma, flavour, and visual appeal. Beer, once made, may be enjoyed in a variety of forms.
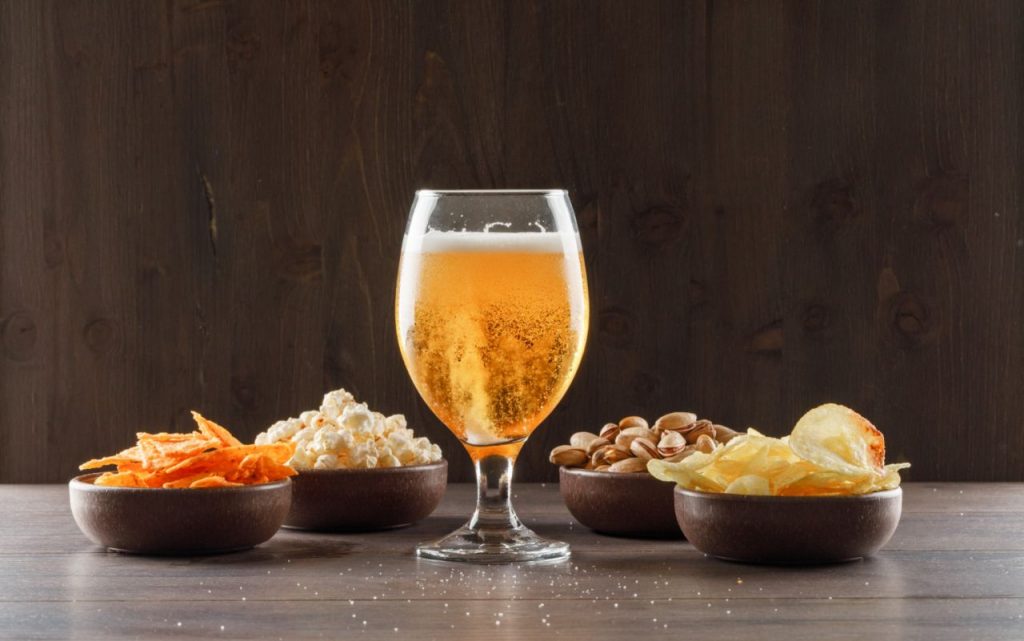
It may be consumed either by pouring it into a glass or directly from the bottle or can. While some individuals like beer only with food, others love sampling new brews with pals. Beer, in whatever form it takes, has been a popular beverage for hundreds of years because of its refreshing flavour and relaxing effects.
Maintain a sanitary environment for your tools.
Sanitizing all of the brewing tools before putting them away at the end of each day is essential. This will inhibit the growth of germs and other microorganisms that might alter the beer's flavour. You can disinfect tools in a few different ways. You can use a chemical sanitizer like chlorine or iodine if you want to be extra sure. All you have to do is follow the directions on the package and give everything a good rinse before you use it. Cleaning and sterilising devices with heat is another alternative. The best way to ensure this is to boil your brewing equipment for at least 15 minutes. Finally, UV light can be used to disinfect tools. This technique is gaining in popularity as it is both efficient and chemical-free. Before each brew day, whatever of the method you choose, give everything a thorough cleaning and sanitization.
Process of Fermentation
One of life's few true pleasures is unwinding with a nice beer at the end of a hard day. What makes beer unique is the fermentation process, which also produces the alcohol. It's a tried-and-true method for making food last longer and tasting better that's been in use for millennia. Yeast metabolises sugar into alcohol through the fermentation process. Brewing beer is possible by harnessing this mechanism. An initial step is to mash the grain with water. The sugars in the grain are extracted by heating the mash. The sugary liquid, known as wort, is subsequently cooled and sent to a fermentation vessel. The wort is fermented with yeast for a while. Yeast feed on sugar during fermentation to create alcohol. It's time to add carbonation and bottle the beer after it's done fermenting. One of the basic joys in life is drinking a beer that you brewed yourself. Since it has been fermented, everyone here may partake in this refreshing drink.
Good Beer Can Be Made From All-Grain Brewing.
Beer is always brewed from wheat, water, yeast, and hops, no matter what brewing technique is used. Brewing using an extract, however, is distinct from all-grain brewing in that sugars are acquired throughout the brewing process. The vast majority of extractors start off by purchasing a kit, which makes the procedure quite accessible and simple. Most professional breweries and advanced homebrewers use the all-grain brewing method, sometimes known as the brewing in a bag approach.
Made Only With Malted Barley
Crushing the malted grains and "mashing" them turns the carbohydrates in the grains into sugar, which the yeast may ferment into alcohol. Crafting beer from raw materials offers the greatest creative freedom and the most rewarding hands-on brewing experience.
The original method of making beer involves using entire grain, often known as "brewing in a bag." This method requires a substantial investment of time, money, resources, and real estate in order to develop your beer recipes, but it does it in a more reliable and reproducible manner.
Making Beer from a Kit that Extracts the Malt
All the hard work is done for you when you utilise a method that uses an extract kit, and you may brew almost any style of beer you desire. The best way to get started brewing is with a recipe extract kit, which has all the ingredients and instructions a beginner needs to make their first batch. Bottle caps, liquid malt extract (LME), dry malt extract (DME), liquid malt extract (LME), and specialised grains are included. Highly specific directions.
You'll find sugars in powder or sugar form, which is what you'll need to make the Strong liquid. Produced by malting industry experts, they eliminate the need for a conversion process prior to brewing all-grain beers.
Despite the fact that some may hold the opinion that beers brewed using all grain are superior, beers brewed using either method have been recognised with honours. Therefore, it is to your advantage to pick the strategy that interests you and the approach you want to use.
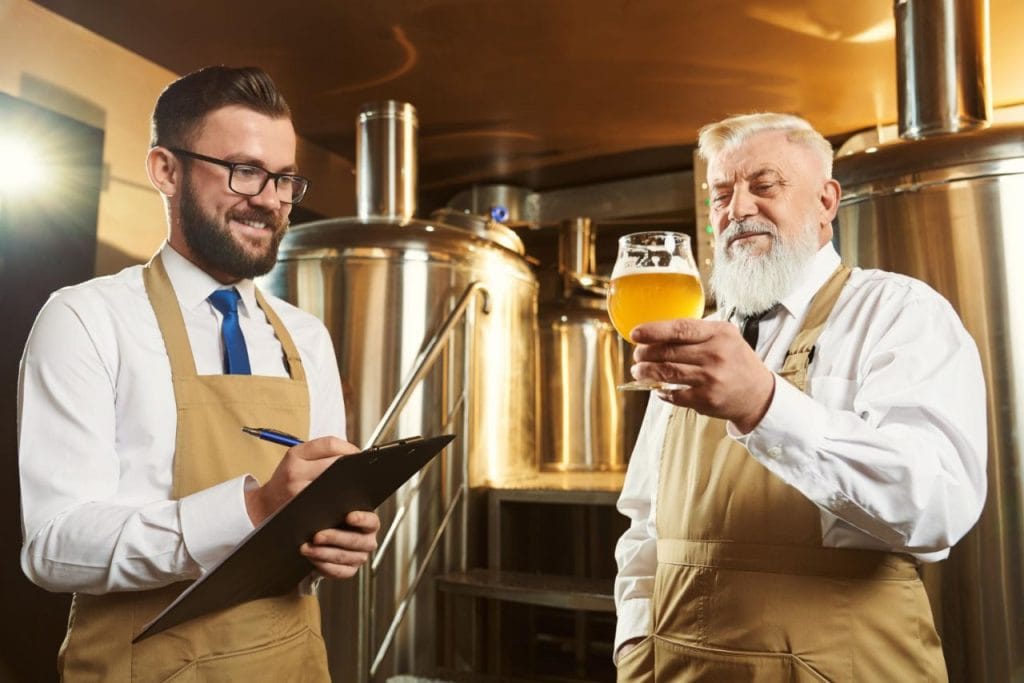
The quality of the finished beer is largely dependent on the fermentation process.
Here, yeast ferments the beverage by transforming the carbohydrates into alcohol. Typically, it lasts for a minimum of two weeks. The only thing left to do is to use a refractometer or hydrometer to measure the gravity of the brew every day. When you have two days of constant readings, the fermentation process is complete.
Deflationary Period
When yeast is added, fermentation begins; the first stage might take from three to fifteen hours. There is a rapid upsurge in yeast population as the wort absorbs oxygen. Most brewers agree that the wort temperature should be higher now than at any time during the rest of the fermentation process. This means that the yeast can grow and multiply at temperatures between 72 and 75 degrees Fahrenheit (22.8 and 23.8 degrees Celsius), with a later temperature range of 50 and 55 degrees Fahrenheit (10 to 12.8 degrees Celsius) (10 to 12.7 degrees Celsius).
Rapid and Steep Increase
In this final stage of the interphase, yeast feeds on the fermentable sugars and produces ethanol and carbon dioxide. One to four days later, the simple sugars like glucose and fructose will be broken down, followed by the complex sugars like maltotriose. Foam on top of the fermenter and bubbles in the airlock are two telltale signs that fermentation is occuring. You may also detect an alluring hint of beer at this point.
Swelling of Yeast
It will take around 10 days for the beer to finish its conditioning fermentation, but it might take as long as two months for some beer styles. As the yeast's development slows, it will begin to flocculate, and some of the excess hydrogen sulphide gas will escape the fermenter.
Bottling
Once the beer has finished fermenting, it can be stored in bottles or kegs. To recap, carbonation can take anywhere from four to six weeks. To remedy this, priming sugar should be added to the wort. Let's say you've settled on bottling the beer. However, since the carbonation is handled by the kegerator, additional sugar is unneeded. Beer is best served cold and dark, so store it there until you're ready to consume it.
Brewing Time
Time needed to complete the brewing day varies depending on whether extraction equipment or the all-grain version process is employed. Consequently, it is in your best advantage to do the following: set aside a specific amount of time during which you will not be distracted by anything else.
With extracts, the brewing day looks like this:
- The first step is to get everything you need, including brewing instructions and equipment, together.
- Sanitising (Sanitation is essential for everything after having contacted with the yeast it has been cooked) (Sanitation is required for everything after having touched with the yeast it has been boiled)
- The step of soaking the grains
- The wort is being heated to boiling (60 minutes)
- The step of chilling the wort (10 to 45 minutes)
- The next step is to add the yeast to the wort in the fermenter (15 minutes)
Primary Fermentation Might Take Between 5 And 7 Days.
Once the wort has cooled to room temperature, it is time to transfer the mixture into a clean main vessel. Activate the yeast at this point. The time required to finish this stage also varies considerably from brewer to brewer. Depending on the person, 10 days can be spent on the main ship. During the dormant period, the yeast will feed on the wort's sugars. The yeast now creates alcohol and carbon dioxide. This causes the yeast to rapidly multiply, leading to the formation of a kraut-like froth that quickly rises to the top.
The week of the competition is likely to be the busiest. When yeast is given a sugar source and allowed to feed on fermenting carbohydrates, alcohol is created. Therefore, it's likely that they wouldn't be able to do much more than what you're currently doing, which is keeping the container in a cool, dark place away from direct sunlight.
Approximately one week after the yeast has digested the sugar, it will become more settled. Next, transfer the brew to a fermenting vessel that's easier to handle. During this period, there is a precipitous drop in specific gravity. The port must be fully open with vigourous bubbling. This occurs as a result of the yeast consuming all of the sugar in the wort.
Secondary Fermentation, Which Is Optional.
There's a lot of debate among brewers about whether or not secondary fermentation is required, and whether or not it's worth the time it takes to do it. This step is entirely optional, however it can be taken if desired. The purpose of this second stage, which can also be referred to as the "static fermentation phase," is to give the beer more time to clear. After fermenting the sugar in the wort, the yeast starts to flocculate since it no longer needs to produce alcohol. Beer is left clearer and cleaner when the sediment hardens and settles to the bottom of the container.
Due to the yeast having finished most of their work during primary fermentation, the airlock will display relatively infrequent bubbles during secondary fermentation. Also, now is the time to add fruit and other beer ingredients to the toast if you so choose. Remember that the yeast might become active again and begin generating carbon dioxide if more sweet fruits are added to the beer toast. Make that an airlock or blow-off tube has been installed correctly at all times.
Years May Be Allowed For Bottle Conditioning.
The last stage is to bottle the beer, cap it, and then wait anywhere from two weeks to a year before opening it for the first time and tasting it. Beer won't get tasteless or flat if you let it sit for the recommended period of time. The beer's signature bubbles form at this stage.
Every precaution should be taken to avoid water splashing about during the bottling process. Your beer may absorb oxygen, giving it a taste akin to a wet board if you're not careful. Breweries often advise producing 10 litres at a time, which may be done in around two hours. Sanitizing, draining the sediment, cleaning, and refilling are the separate phases that make up the method.
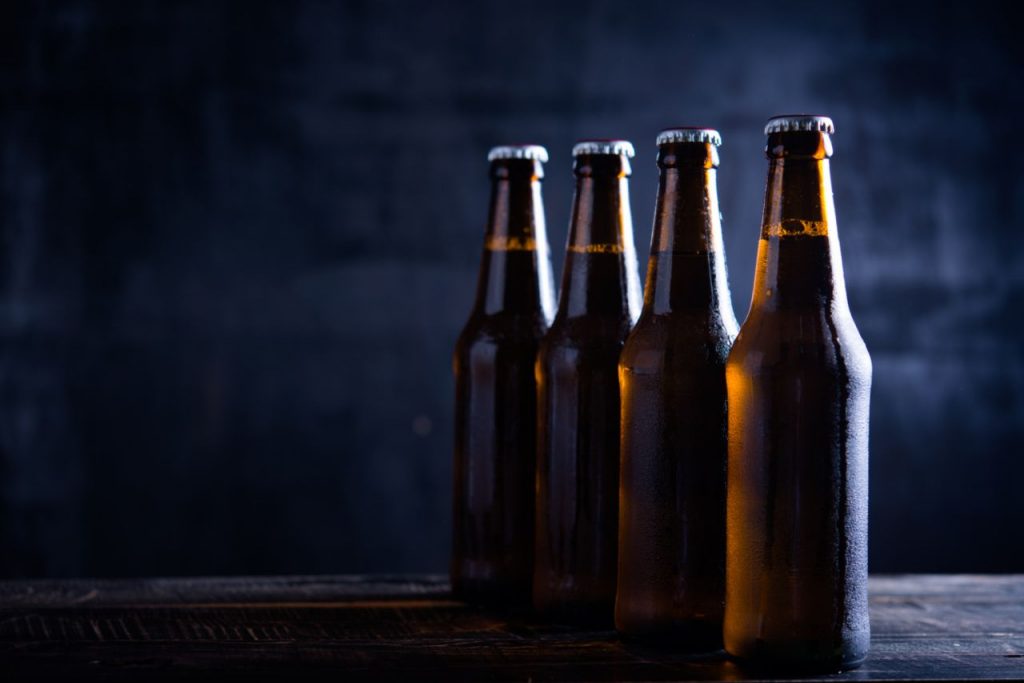
Beer in a package has a shelf life of at least one year, and certain varieties may last much longer. However, the majority of brewers advise waiting at least five weeks before popping open a bottle of beer. The beer will continue to develop in quality for weeks or months after it has been bottled and corked, a process known as bottle conditioning.
The outcome of anything might be significantly altered by the maturing process. While certain beers may be consumed after only two weeks of ageing, the best results will be achieved by giving the beer at least four weeks to develop its flavour and character. The opposite is true for other beers, which may be enjoyed after only two weeks of ageing.
Conclusion
It takes about 8-10 hours of actual work time, spread out over two or three days, to brew a batch of beer. Brewing time can be cut by as much as an hour when malt extract or a partial mash are used. Some beer styles require more time to ferment and condition. As a home brewer, you need to practise patience because the beer won't be drinkable until the fermentation process is complete. The fermentation time of your beer will vary depending on a variety of things, such as the temperature and the purity of the yeast you're using.
There is a significant amount of waiting involved in home brewing, but the end result is well worth the effort. Certain beer styles benefit from a longer bottle conditioning time, others may benefit more from a shorter one. Some home brewers jump straight to the boiling stage, skipping the mash and boil. Creating alcohol requires little more than mixing water, grain, yeast, and hops. Yeast is used to ferment wort, a mixture of sugar and yeast, into alcohol and carbon dioxide.
There are several techniques for brewing beer, each of which contributes distinctively to the end product. What makes beer unique is the fermentation process, which also produces the alcohol. Sanitising all of the brewing tools before putting them away at the end of each day is essential. Brewing beer is possible by harnessing this mechanism by heating the sugars in the grain with water. Crafting beer from raw materials offers the greatest creative freedom and the most rewarding hands-on brewing experience.
Brewing using an extract is distinct from all-grain brewing in that sugars are acquired throughout the brewing process. The vast majority of extractors start off by purchasing a kit, which makes the procedure quite accessible and simple. Most brewers agree that the wort temperature should be higher now than at any time during the rest of the fermentation process. Foam on top of the fermenter and bubbles in the airlock are telltale signs that fermentation is occuring. Beer is best served cold and dark, so store it there until you're ready to consume it.
The wort is being heated to boiling (60 minutes). The next step is to add the yeast to the wort in the fermenter (15 minutes). This creates a kraut-like froth that quickly rises to the top. During this period, there is a precipitous drop in gravity. Make sure an airlock or blow-off tube is installed correctly at all times.
Beer won't get tasteless or flat if you let it sit for the recommended period of time. Every precaution should be taken to avoid water splashing about during the bottling process.
Content Summary
- How Long To Brew Beer Time spent actively working on the beer, and time spent sitting in the fermenter or beer bottles, are the two main components of the total time it takes to make beer at home.
- There aren't many "active hours" spent brewing beer, but it might take many weeks or months to attain optimal drinking quality.
- I usually spend six hours total on a batch of beer made from whole grains, and that includes the time it takes to clean up afterwards.
- Discover the ins and outs of different brewing methods right here.
- Most of the time throughout the brewing process, a homebrewer's hands are doing nothing.
- Where to Buy a Brewing Kit with ConfidenceThe fermentation process and beer condition are very context-dependent.
- The time it takes to brew a low-gravity ale can be reduced to as short as two to three weeks if you use a force carbonating technique.
- However, the quality of homebrew often increases over time, and some beer styles require more time to ferment and condition.
- Brewing and Consumption
- The components can be prepared in only a few hours, but the beer must ferment in the beer brewing kit for at least two weeks, followed by another two weeks of bottle conditioning.
- The fermentation time of your beer will vary depending on a variety of things, such as the temperature and the purity of the yeast you're using.
- You must first clean and disinfect all of your brewing equipment before proceeding.
- Consider an additional two weeks for the fermenting process.
- Adding priming sugar and bottling your beer once the first fermentation is complete (or if you want to save a little time and trouble, carbonation tablets).
- While certain beer styles benefit from a longer bottle conditioning time, others may benefit more from a shorter one.
- In most cases, you won't need to wait more than two weeks after transferring your brew from the fermenting bucket to the bottles before you can enjoy your homemade ale.
- Four to six weeks of bottle conditioning is ideal for lagers.
- It's OK to drink them after two weeks if you really can't wait, but many beers improve with more conditioning.
- Keep in mind that soaking the grain will impart a more robust fragrance to the brew.
- It takes around 40 minutes to bring water to a boil, after which you may begin soaking grain.
- When you're ready, the next step is to boil them.
- Boiling the grain in water with spices or other components allows for a wide variety of flavour combinations.
- Brewing beer is an age-old craft that has been practised for millennia and still is now.
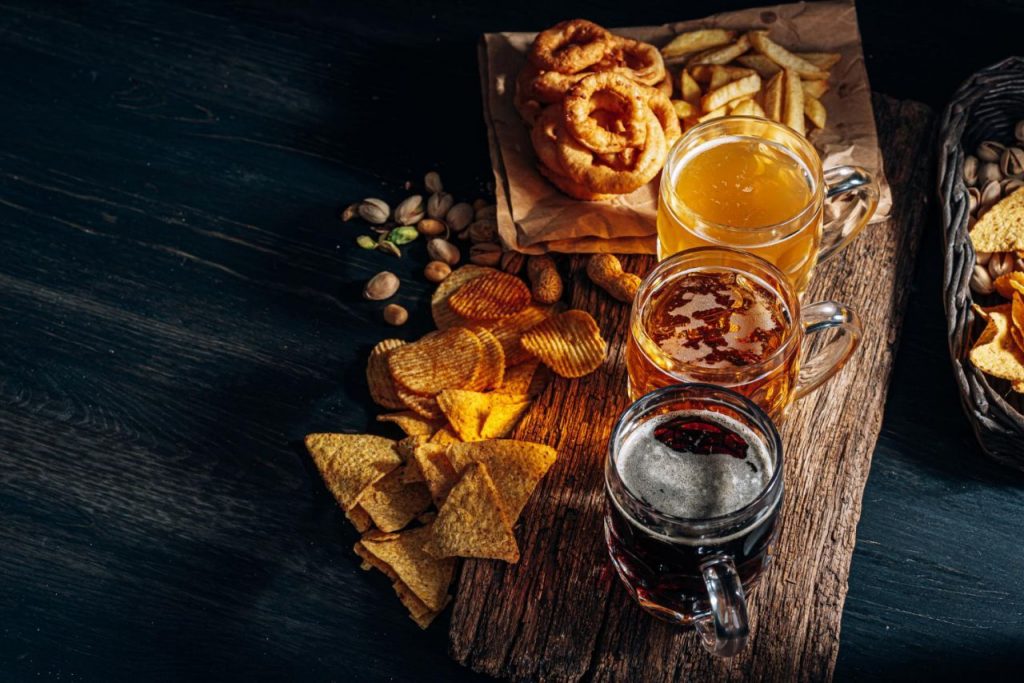
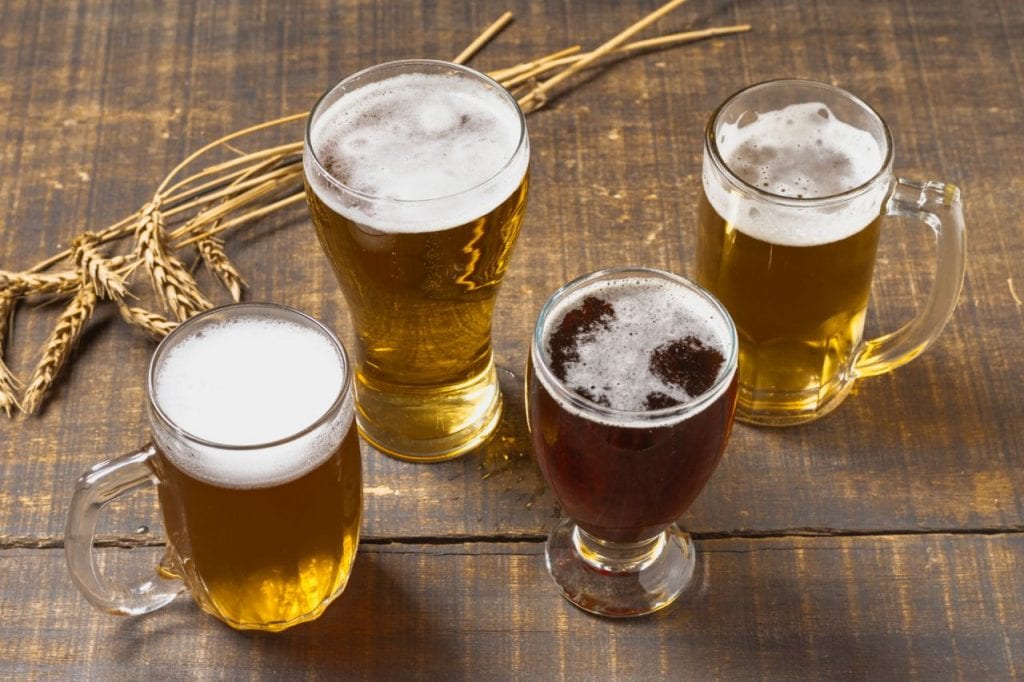
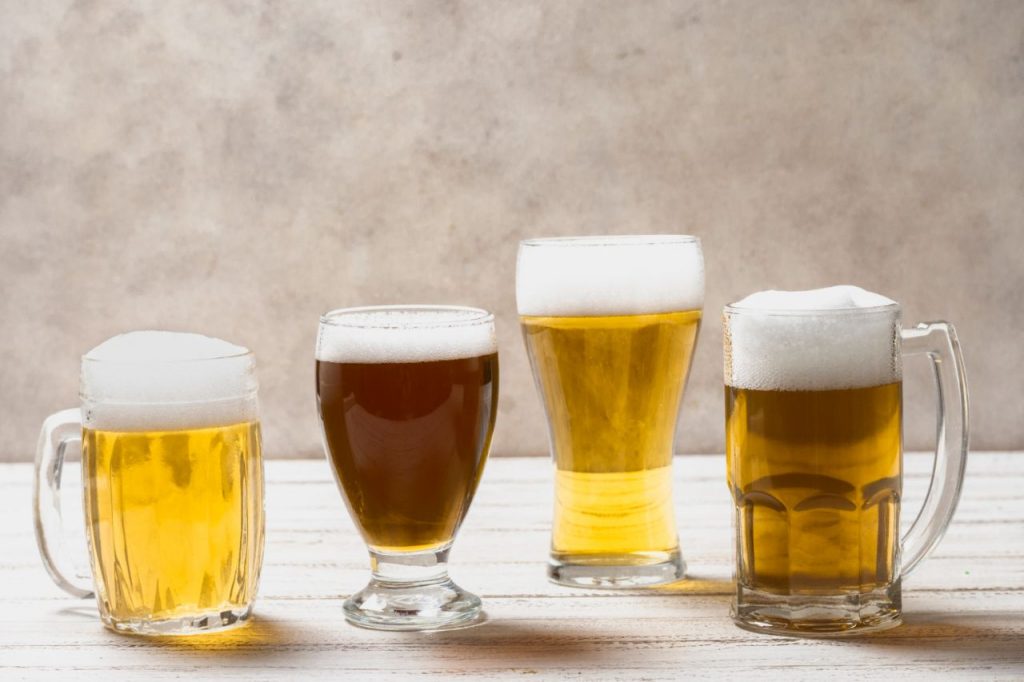
- Because of this, there is a huge variety of beers available to drinkers.
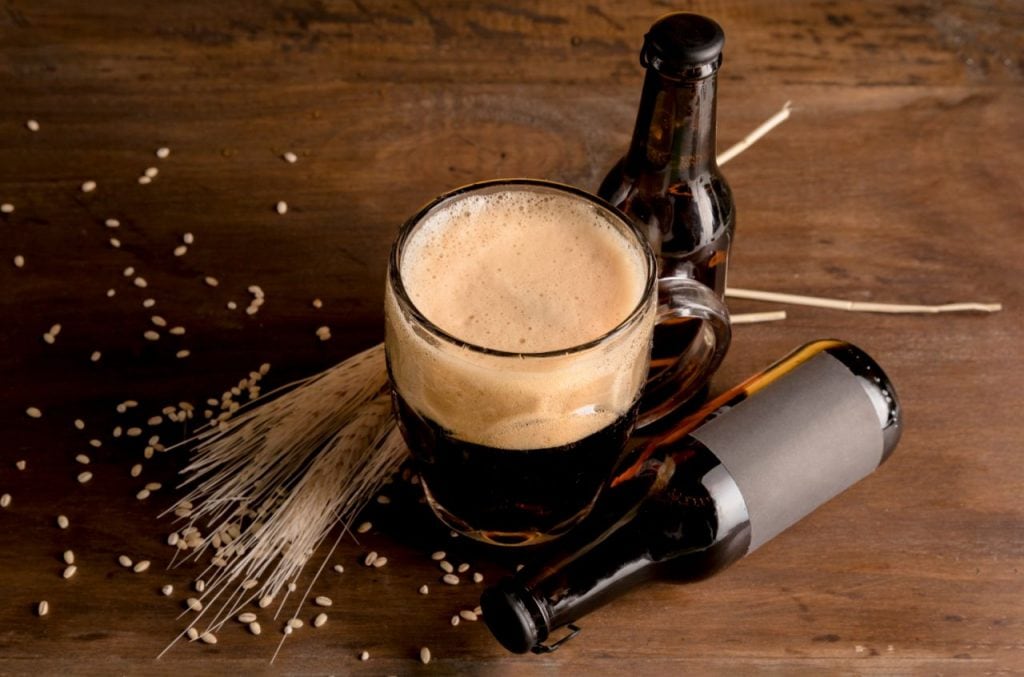
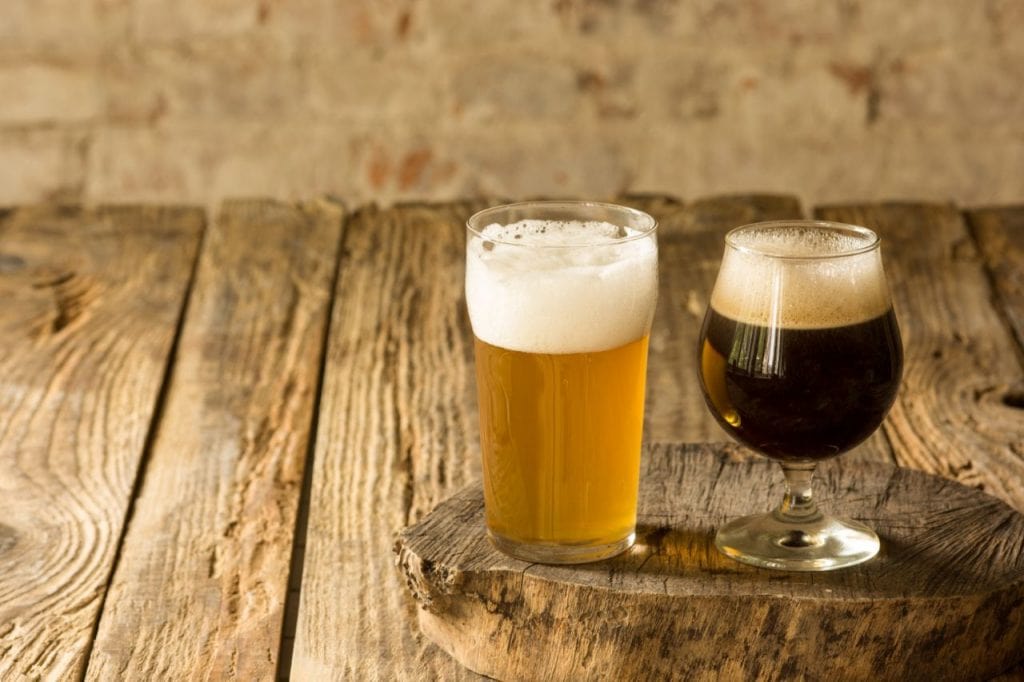
- Beer comes in a wide variety of styles, so you can choose one that suits your tastes whether you like your brews light and crisp or dark and hearty.
- Yeast is added to the mix.
- Yet, yeast is also a key ingredient in making beer.
- The wort must be well aerated before the yeast is added.
- The beer should be ready to drink after a few days.
- The Full Brewing and Drinking ExperienceIndulging in the time-honored tradition of homebrewing beer has been a popular pastime for generations.
- Beer is made by mixing many elements, such as water, malt, hops, and yeast.
- Maintain a sanitary environment for your tools.
- Sanitizing all of the brewing tools before putting them away at the end of each day is essential.
- This will inhibit the growth of germs and other microorganisms that might alter the beer's flavour.
- You can disinfect tools in a few different ways.
- The best way to ensure this is to boil your brewing equipment for at least 15 minutes.
- Before each brew day, whatever of the method you choose, give everything a thorough cleaning and sanitization.
- What makes beer unique is the fermentation process, which also produces the alcohol.
- Yeast metabolises sugar into alcohol through the fermentation process.
- Brewing beer is possible by harnessing this mechanism.
- The wort is fermented with yeast for a while.
- Brewing using an extract, however, is distinct from all-grain brewing in that sugars are acquired throughout the brewing process.
- Most professional breweries and advanced homebrewers use the all-grain brewing method, sometimes known as the brewing in a bag approach.
- Making Beer from a Kit that Extracts the MaltAll the hard work is done for you when you utilise a method that uses an extract kit, and you may brew almost any style of beer you desire.
- The best way to get started brewing is with a recipe extract kit, which has all the ingredients and instructions a beginner needs to make their first batch.
- Produced by malting industry experts, they eliminate the need for a conversion process prior to brewing all-grain beers.
- Therefore, it is to your advantage to pick the strategy that interests you and the approach you want to use.
- The quality of the finished beer is largely dependent on the fermentation process.
- When yeast is added, fermentation begins; the first stage might take from three to fifteen hours.
- Most brewers agree that the wort temperature should be higher now than at any time during the rest of the fermentation process.
- Foam on top of the fermenter and bubbles in the airlock are two telltale signs that fermentation is occuring.
- Swelling of YeastIt will take around 10 days for the beer to finish its conditioning fermentation, but it might take as long as two months for some beer styles.
- To remedy this, priming sugar should be added to the wort.
- Let's say you've settled on bottling the beer.
- With extracts, the brewing day looks like this:The first step is to get everything you need, including brewing instructions and equipment, together.
- The wort is being heated to boiling (60 minutes)The step of chilling the wort (10 to 45 minutes)The next step is to add the yeast to the wort in the fermenter (15 minutes)Primary Fermentation Might Take Between 5 And 7 Days.
- Once the wort has cooled to room temperature, it is time to transfer the mixture into a clean main vessel.
- Activate the yeast at this point.
- During the dormant period, the yeast will feed on the wort's sugars.
- Next, transfer the brew to a fermenting vessel that's easier to handle.
- This occurs as a result of the yeast consuming all of the sugar in the wort.
- Secondary Fermentation, Which Is Optional.
- There's a lot of debate among brewers about whether or not secondary fermentation is required, and whether or not it's worth the time it takes to do it.
- The purpose of this second stage, which can also be referred to as the "static fermentation phase," is to give the beer more time to clear.
- After fermenting the sugar in the wort, the yeast starts to flocculate since it no longer needs to produce alcohol.
- Due to the yeast having finished most of their work during primary fermentation, the airlock will display relatively infrequent bubbles during secondary fermentation.
- Also, now is the time to add fruit and other beer ingredients to the toast if you so choose.
- Remember that the yeast might become active again and begin generating carbon dioxide if more sweet fruits are added to the beer toast.
- Make that an airlock or blow-off tube has been installed correctly at all times.
- Years May Be Allowed For Bottle Conditioning.
- The last stage is to bottle the beer, cap it, and then wait anywhere from two weeks to a year before opening it for the first time and tasting it.
- The beer's signature bubbles form at this stage.
- Every precaution should be taken to avoid water splashing about during the bottling process.
- Beer in a package has a shelf life of at least one year, and certain varieties may last much longer.
- However, the majority of brewers advise waiting at least five weeks before popping open a bottle of beer.
- The beer will continue to develop in quality for weeks or months after it has been bottled and corked, a process known as bottle conditioning.
- While certain beers may be consumed after only two weeks of ageing, the best results will be achieved by giving the beer at least four weeks to develop its flavour and character.
- The opposite is true for other beers, which may be enjoyed after only two weeks of ageing.
It may seem logical to assume that adding more yeast would increase the final ABV. But unfortunately, this is not the case.
Adding more yeast does not add more alcohol. Yeast consumes sugar to produce alcohol and carbon dioxide. The alcohol content is limited by the amount of sugar in your wort.
Fermentation is somewhat complicated, but it becomes easier to understand when broken down. Additional yeast can speed up fermentation because fermentation lasts as long as available nutrients. Therefore, more yeast will consume the nutrients more quickly.
When yeast is pitched into a wort, it goes through a few stages. In general, the more yeast cells there are, the faster fermentation will move on to the next stage. Usually, it ends when the yeast uses all of the nutrients in the wort, but sometimes it can end early if the yeast flocculates early.
Since yeast can process some sugars more easily than others, it is important to know which sugars are best for brewing.
The two best sugars for homebrewing are dextrose and sucrose. These two sugars are 100% fermentable and relatively simple for yeast to consume.
Yeast usually gets the sugar it needs from grains, but extra sugar can be used for a variety of purposes. Dextrose and sucrose work very well for many of these purposes.